The Boston Harbor Islands are a wonderful place to explore by sea kayak! I have many found memories of exploring these islands with family and friends over the years. While growing up, my mom took us on excursions and camping trips to Georges, Peddocks and Bumpkin Islands; first by ferry and then by kayak when we were old enough. My appreciation for this special place reached a fever pitch during graduate school when I enjoyed paddling amongst the Islands of Quincy Bay from my “secrete” launch at Wollaston Beach. I even had the chance to lead an MIT Outing Club group all the way out to The Graves at one point! Despite these many trips there was one island that had somehow eluded me: Grape Island. It was my mission during this trip to set foot on my “neglected island” and visit one of my old favorites along the way. Who better to make this trip with than the woman who showed me the way to Boston Harbor over twenty years ago!
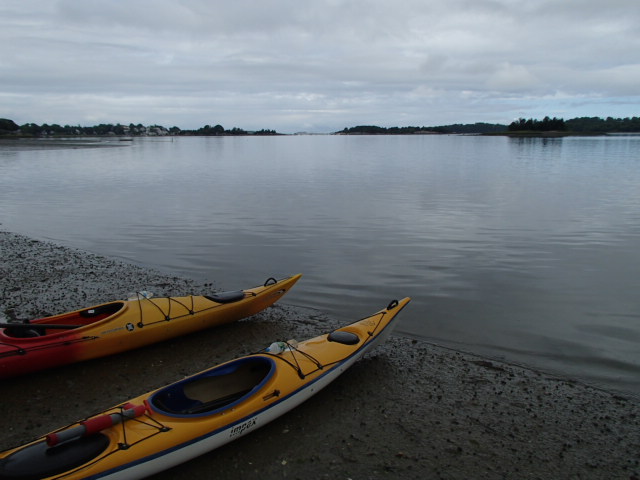
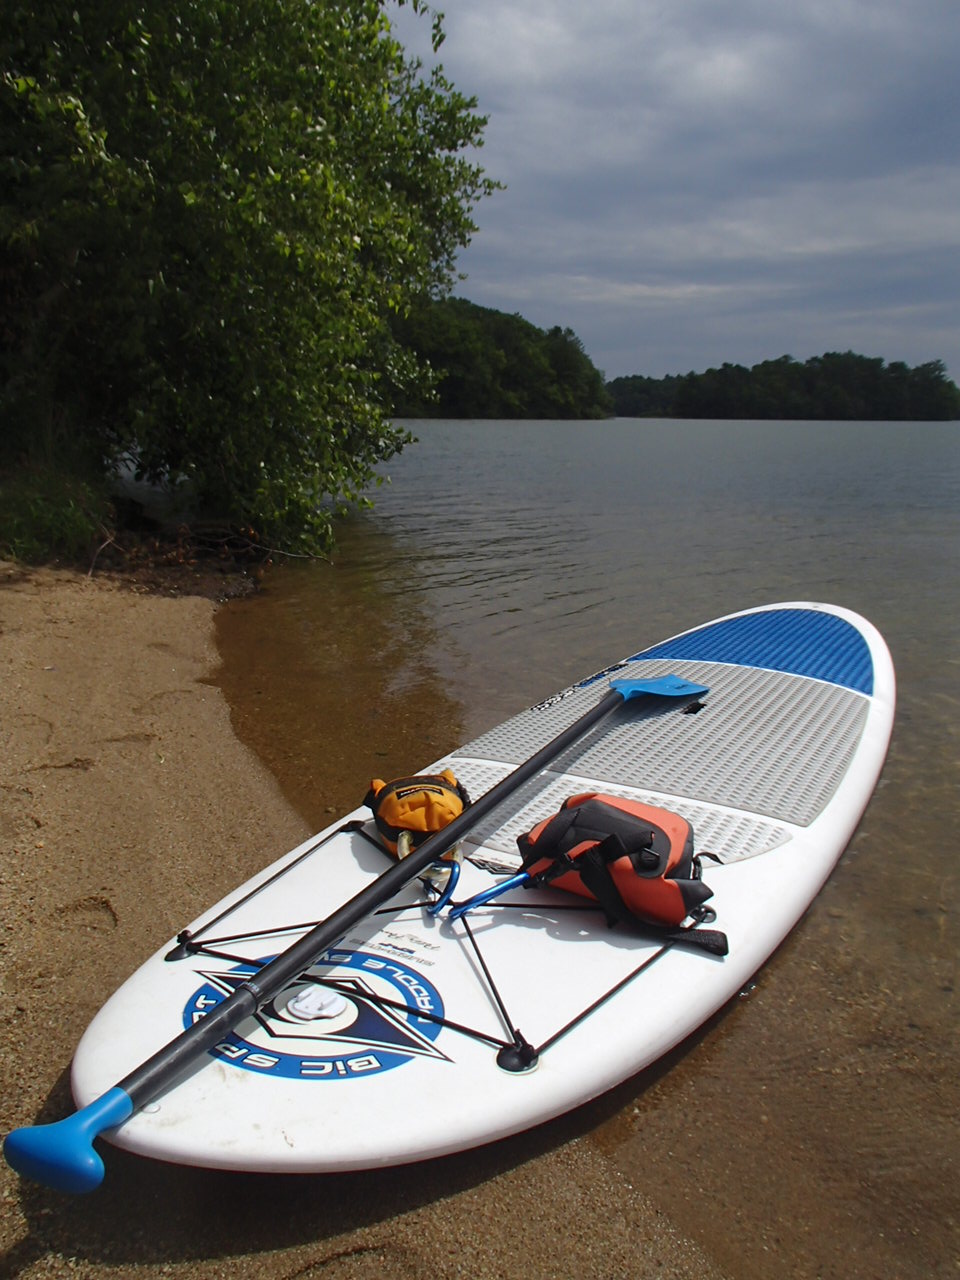
Launch at Bathing Beach in Hingham Harbor
My mom and I decided to set out from Bathing Beach in Hingham Harbor where the parking is free and the water is a quick walk down the sloping, sandy beach. It was mid-day and the tide was just about low. The winds were light out of the Northeast and the skies were threatening a shower as we set our bearings for Worlds End. The first leg of the trip took us past Button Island on our right and then Sarah Island on our left before crossing a narrow channel. We took our first break in the shadow of Worlds End in the low spot between the two hills. There we found an enormous glacial erratic that marked the height of the tide by a strata of colors. Worlds End, now owned and maintained by the Trustees of Reservations is a great place to make a day trip. It’s easily accessible by car and offers miles of walking trails along tree-lined carriage roads. When the tide is high there is also the option of navigating a small creek that allows one to access a small inland pond by kayak. Since the tide was low and our hearts were set on visiting Bumpkin and Grape Islands, we decided that it was best to move on.
Exploring the shoreline at World’s End
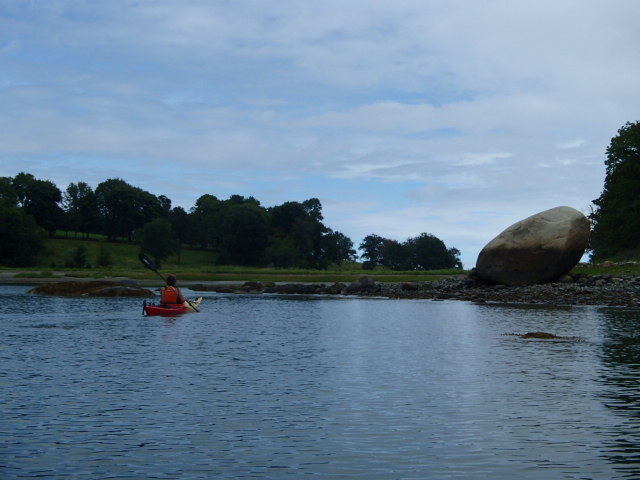
Bumpkin Island lay a mere mile to the Northwest from our first stop near Worlds End. This leg of the trip took us past the mouth of the Weir River and Sunset Point in Hull on our right. We enjoyed views of Peddocks Island and the Boston skyline loomed in the hazy background on our way to our landing spot on the right-hand side of Bumpkin’s pier. The 35 acre Bumpkin Island has a rich history and now boasts a selection of primitive campsites that are available seasonally via permits through the MA Department of Conservation and Recreation (Reserve America). When we arrived on the island we were greeted by a very friendly and knowledgeable ranger named Mike. He caught us up on the history of the island and showed us a number of artifacts collected over the years. Around 1900, the island had served as a hospital for children with severe physical disabilities. Mike showed us pictures of what the magnificent structure that once stood on the stone ruins found on the island’s interior. I was also surprised to learn that Bumpkin Island served as a military outpost during World War I and that some of the former barracks had been relocated to Hull, MA and are still being utilized today!

The approach to Bumpkin Island
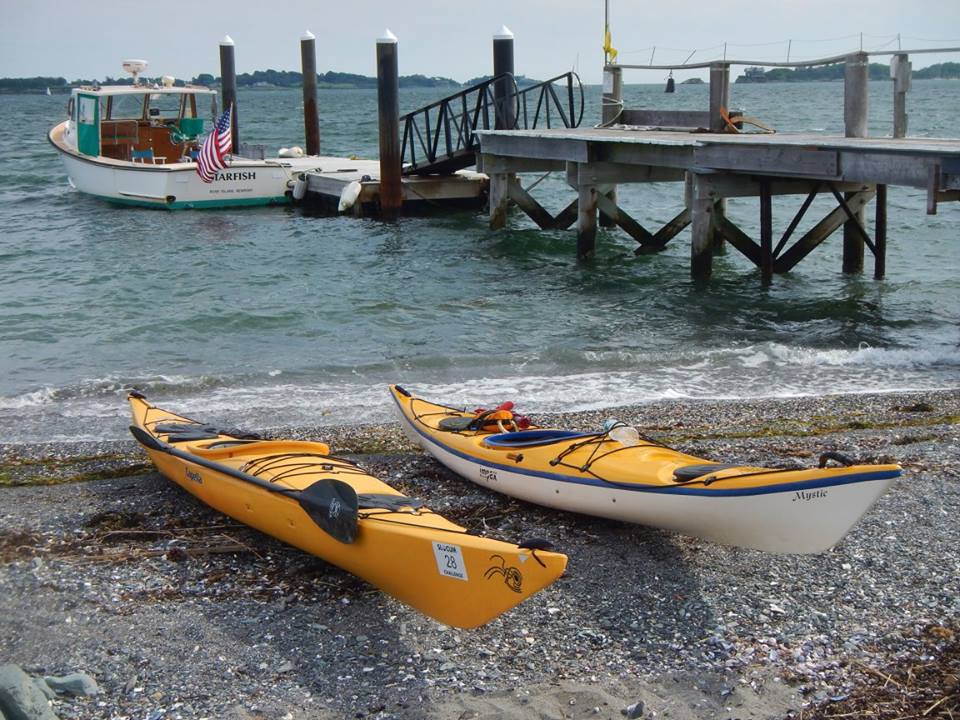
We bid Ranger Mike adieu and set our bearing for the cut between Grape Island and Slate Islands. This leg of the trip would require an open-water crossing of about 1 mile southwest across Hingham Bay. Our path took us across the channel that services Hingham Harbor but we didn’t have much boat traffic to content with. The conditions remained light for our crossing as the wind began to build from the Northeast. It only took about 15 minutes to make the crossing and arrive at the landing near the island’s pier. Grape Island, like Bumpkin to the east, is a glacial drumlin and sports a rocky shoreline. However, the right of the pier was much steeper than that on Bumpkin to the point that my freshly-waxed kayak began sliding back down the water! As we walked up the beach we came across piles of sea shells that had washed up with the tides. I joked with my mom that all we needed to do was fill up our day hatches with shells and we’d have all of the decoration that we needed for my upcoming Cape Cod-themed wedding!
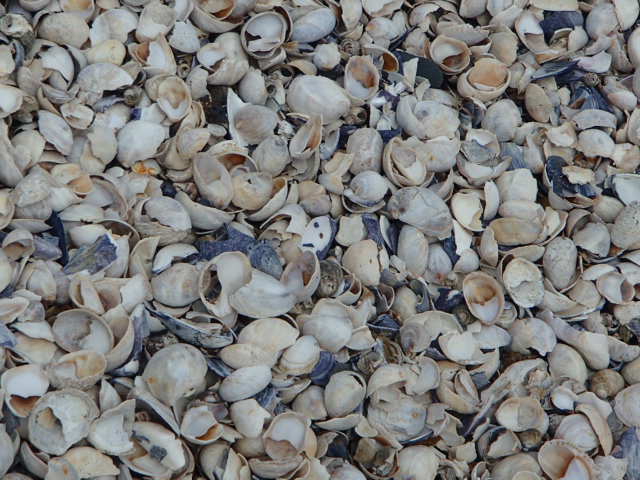
Shells on Grape Island
We were greeted at the grape arbor by Ranger Kathy who provided us with a self-guided tour pamphlet and caught us up on the history of the island. Apparently, the 50 acre Grape Island was one of the few Boston Harbor Islands that was spared from military occupation and remains largely in its natural state. It did, however, play an important role in the American Revolution. During the siege of Boston, the Patriots had the city surrounded and the British Army was essentially starved for supplies. Grape Island was home to a Loyalist-owned hay farm that was raided by the British Navy in order to feed their horses in Boston. The patriots caught wind of the raid and drove the British from the Island before burning the remaining stocks of hay! Our tour of the island proved equally interesting and offered a number of impressive vistas. The western vista looked onto the Hingham Shipyard while the northern vista provided views of Weymouth’s Fore River shipyard and the distant Blue Hills (which actually appeared blue on this hazy day!). The path also led through a number of the islands habitats including a unique birch/aspen grove and a small salt marsh on the way back to the landing. We noticed a small slate outcropping along the southern beach and my mom proceeded to collect a few dozen, post-card-sized chunks for use as table numbers at the wedding. I guess she had been inspired by my earlier comments about the shells!
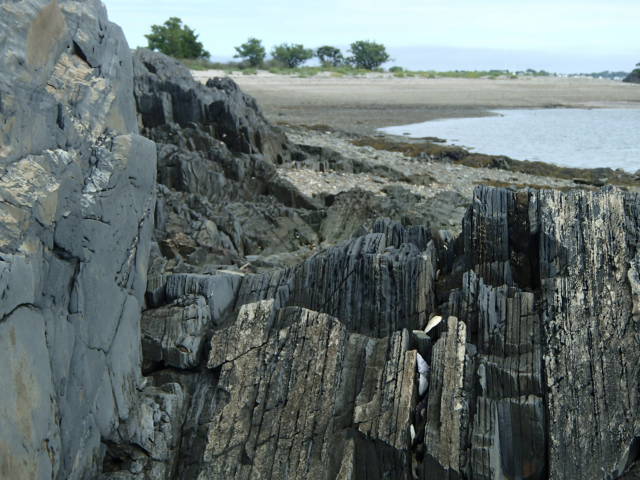
Exploring Grape Island
The wind was beginning to swing around to the east as we loaded our kayaks with the slate and prepared to depart Grape Island. We had expected the possibility of some afternoon weather and the change in wind hastened our journey along the final leg back to Hingham Harbor. We put Slate Island on our left and made way for Crow Point. This took us past a number of impressive mansions before touring southeast at the Hingham Yacht Club. The wind continued to swing around on us and we found ourselves fighting a building southeast headwind as we split the gap between Ragged and Sarah Islands. The final quarter mile proved a bit easier as we paddled into the lee and my mom beat me back to Bathing Beach despite having a hatch full of slate! We had just enough time to load up our boats and gear before the rain came. The cool rain offered a nice reprise from the week’s oppressive humidity and we took advantage of the shelter of a nearby bandstand to enjoy lentil chips and hummus and watch the raindrops fall on the quiet harbor. Thanks, Mom, for sharing another great adventure to the Boston Harbor Islands!
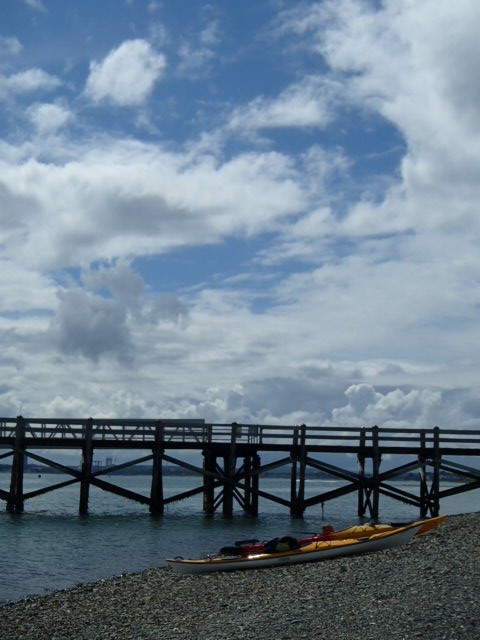
Departure from Grape Island
Overall, this trip is an excellent choice for advanced-beginner paddlers interested in spending a day exploring fairly-protected waters. Each of the Boston Harbor Islands is unique in its history and ecosystem and they have been a real joy to explore over the years. It’s incredible to think that such an expansive aquatic park exists within a “stone’s throw” of Boston but there it is and far too few take advantage of the adventure and history that these islands have to offer, in my opinion. Be aware that even the waters of Hingham Bay can get choppy and prove a real challenge for novices. I’ve been out there at times when the waves exceeded three-four feet so please pay attention to the weather forecast and expect a building southwest wind on the average summer afternoon. Also, please respect the camping regulations on these islands and the fact that people make reservations to occupy these sites during the season. Both Grape and Bumpkin Islands are open to camping and provide a primitive island getaway without having to go too far “away”. For more information on making camping reservations visit Reserve America.
Happy Paddling!
-Kayak Dave
Trip Details:
Launch: Bathing Beach, Hingham, MA
Landing: Bathing Beach, Hingham, MA
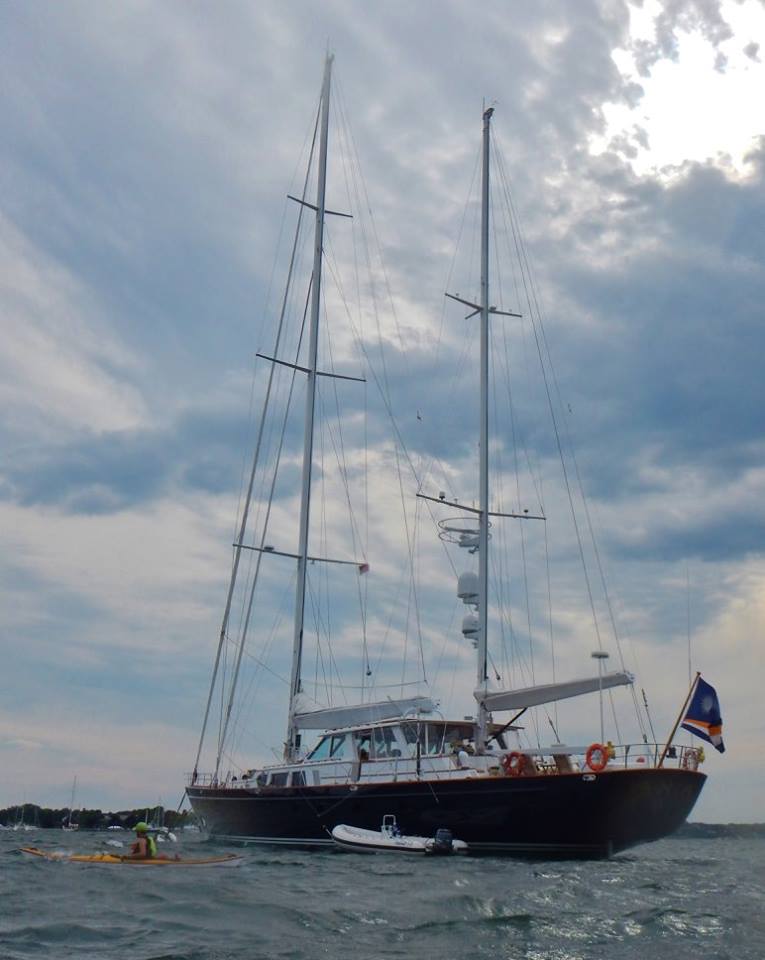
Highlights: Worlds End, Bumpkin Island, Grape Island, Sailboats
Duration: 3hrs (with stops)
Distance: ~4-5miles
Good Eats: Wahlburgers @ Hingham Shipyard, 19 Shipyard Dr, Hingham, MA
Kayak Dave Rating: