Our first build day started off bright and early at the wood shop of our kayaking instructor friend Ross MacVicar (a professional chainsaw carver http://www.rossmacvicar.com/) who graciously offered his help with some milling. We realized while ordering the specialty PVC fittings that we could save a lot of money by customizing some of the more standard fittings to meet our needs. After about an hour on the drill press we had all of the parts modified. Thanks, Ross!!!
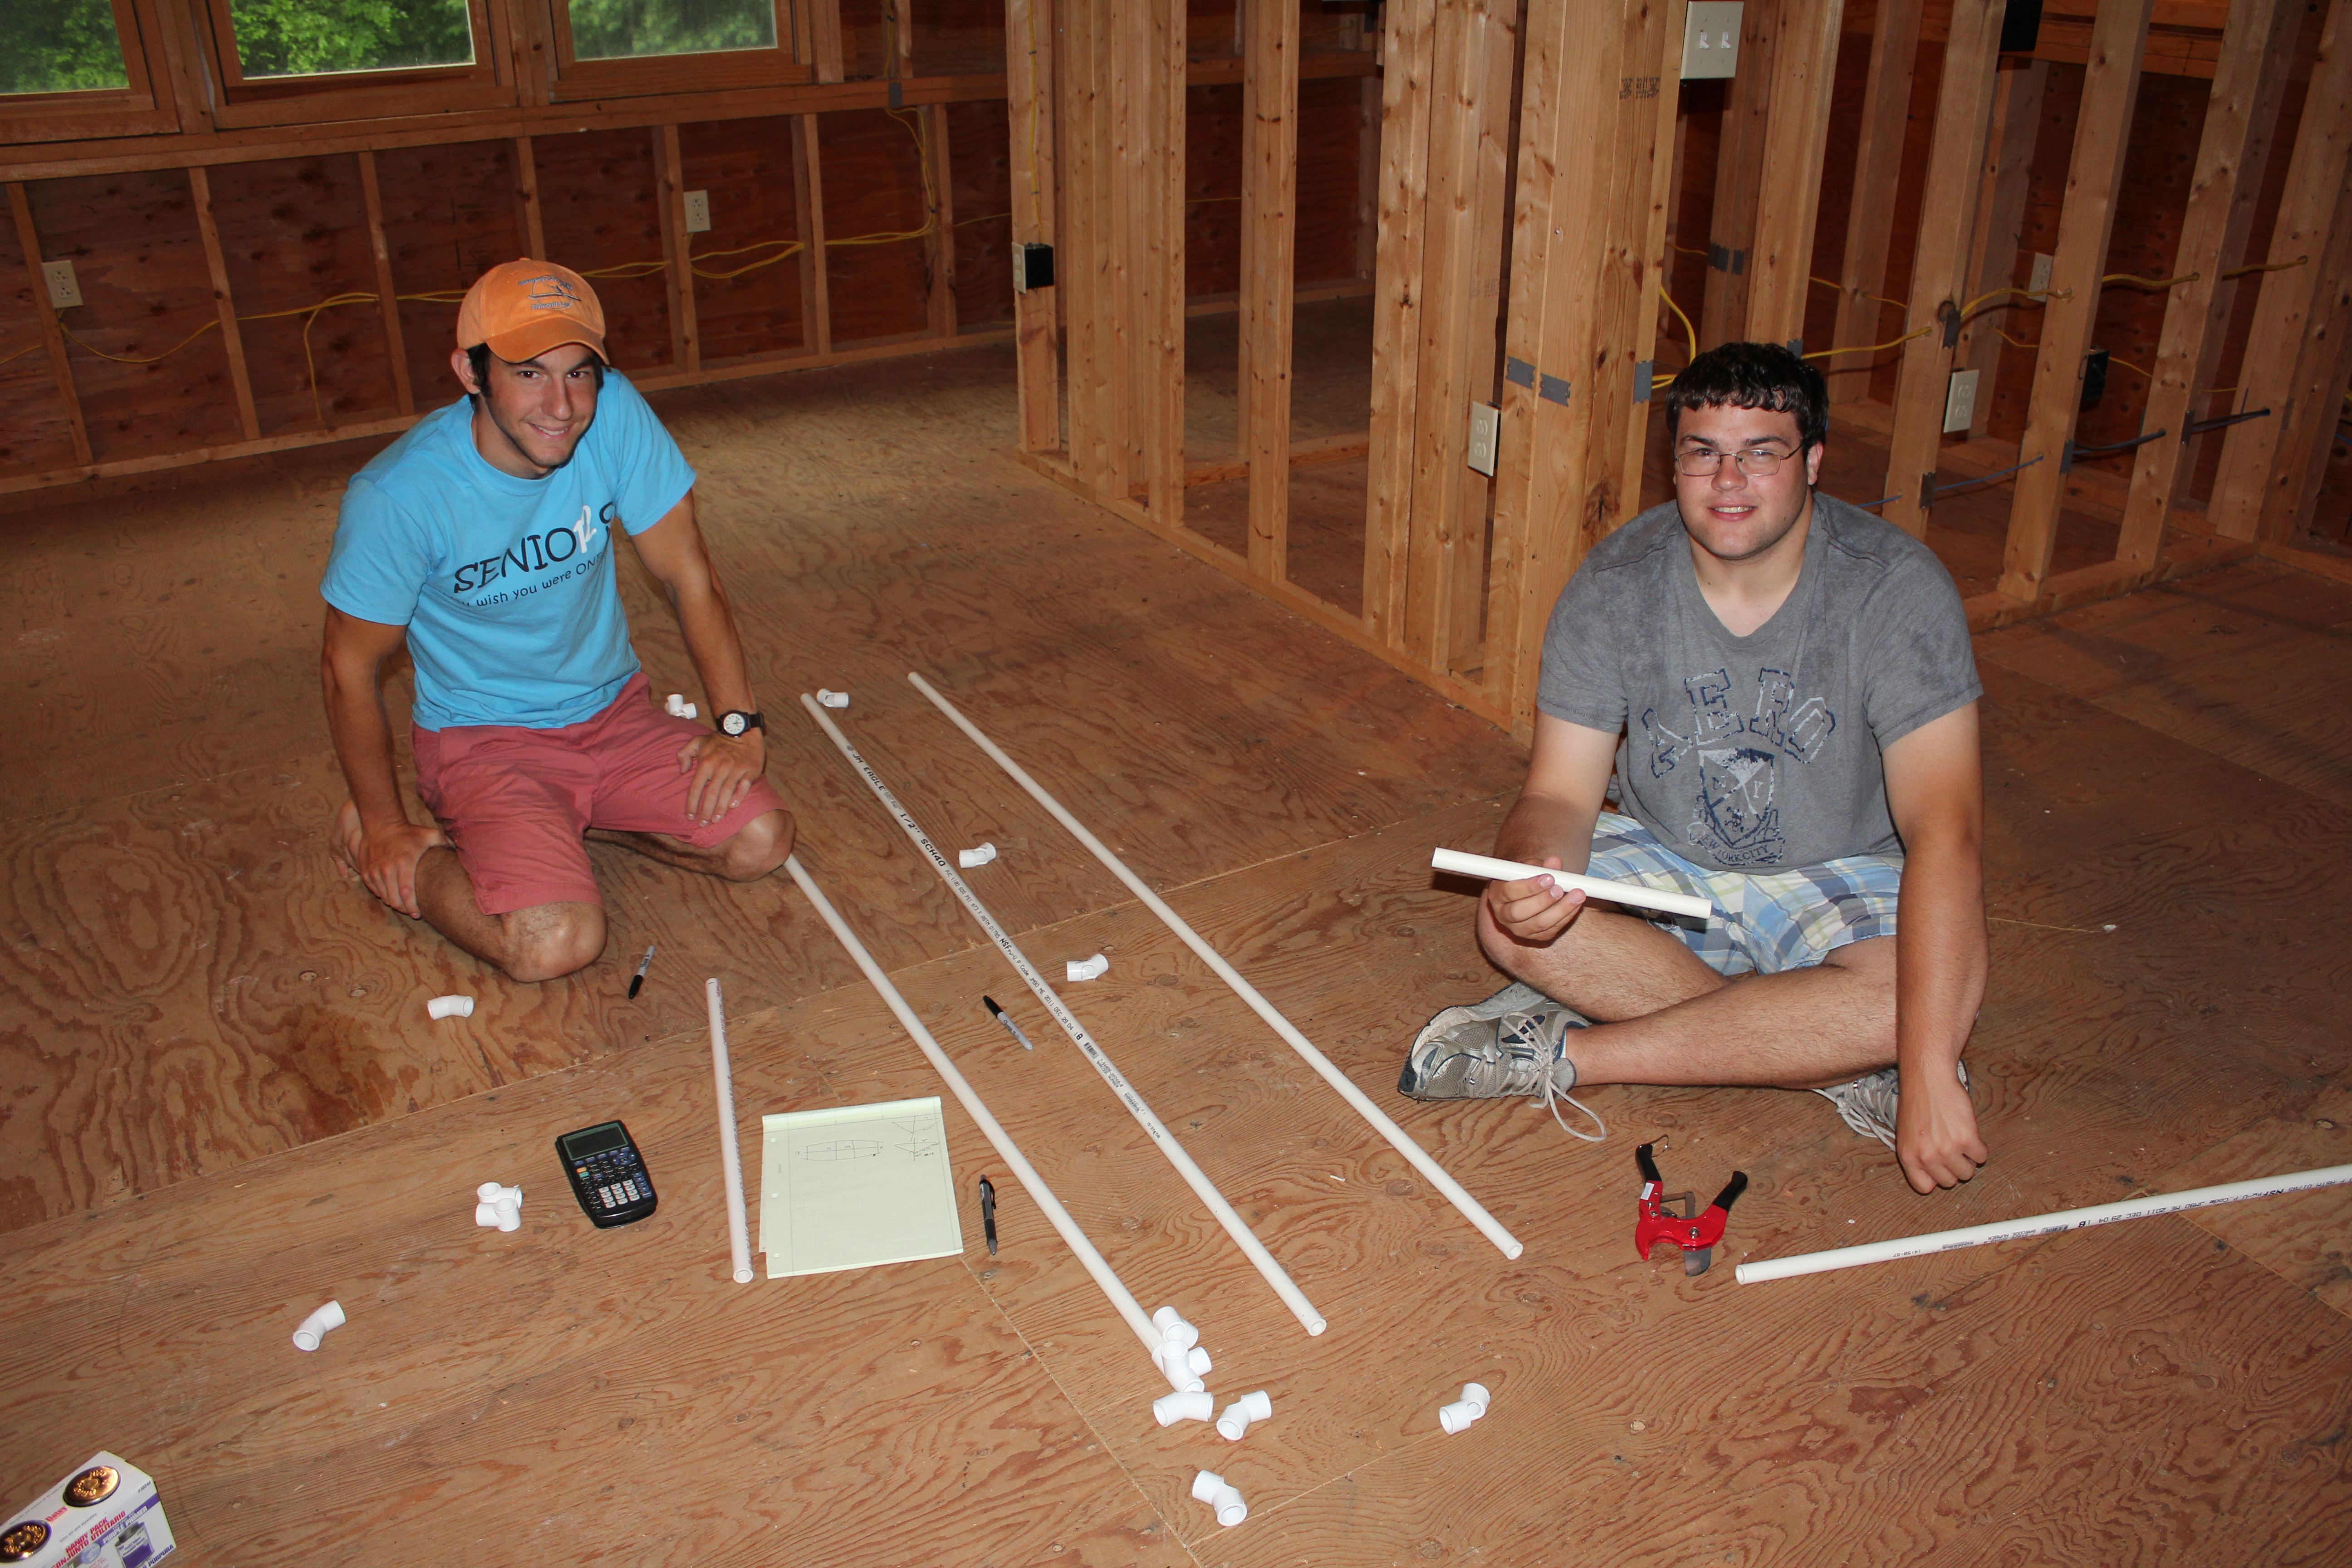
The next stop was back to the Home Depot to pick up the ½ inch diameter, schedule 40 PVC pipe for our frame. There was only one problem: the pipe came in 10ft lengths and my new car is hardly 10ft long! This was when our handy-dandy pipe cutter came to the rescue! It took us all of five minutes to chop down the 18 lengths of PVC pipe from 10ft to 6ft and into the car they went!
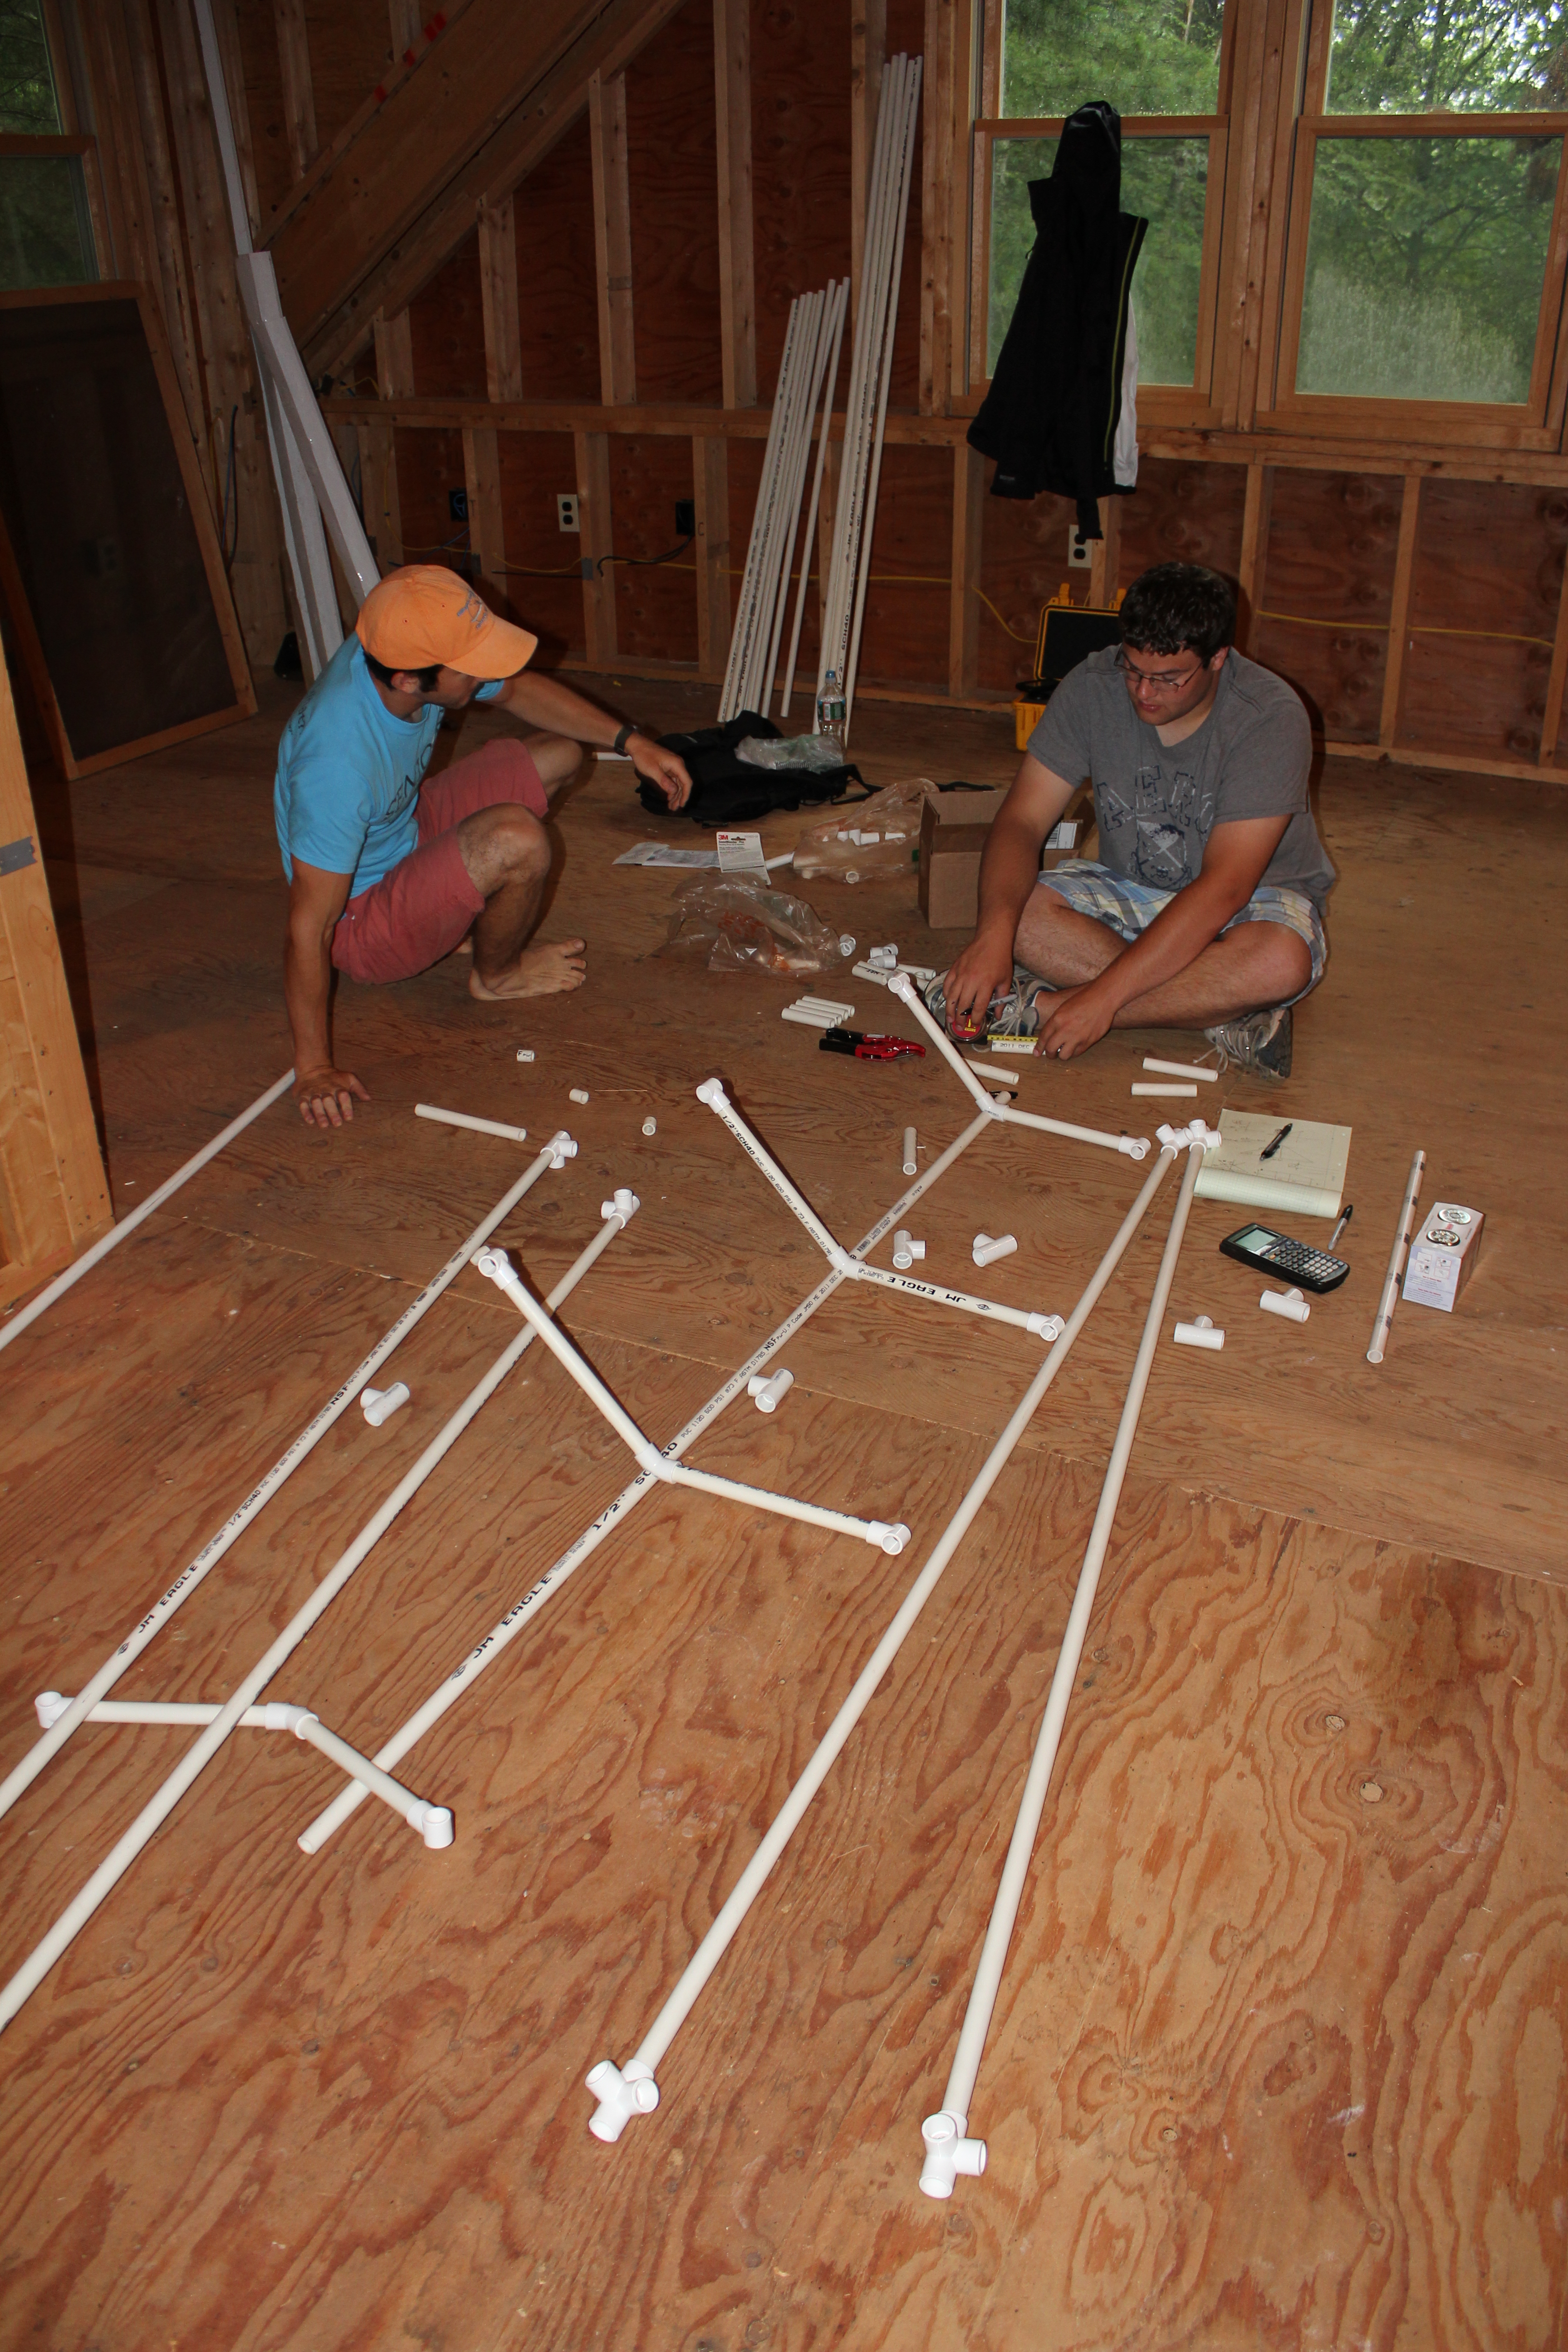
By 11:00 we had relocated all of our parts to the Kayak Barn at Billington Sea Kayak and set up shop in an empty bay. Doug, the owner and a good friend of ours, had caught wind of our plans to build a duct tape kayak during over the weekend. As soon as we turned the lights on in the barn he ran straight over with some of his family to check out what we were up to. Unfortunately, we didn’t have much to show yet except for a big mess of parts on his floor!
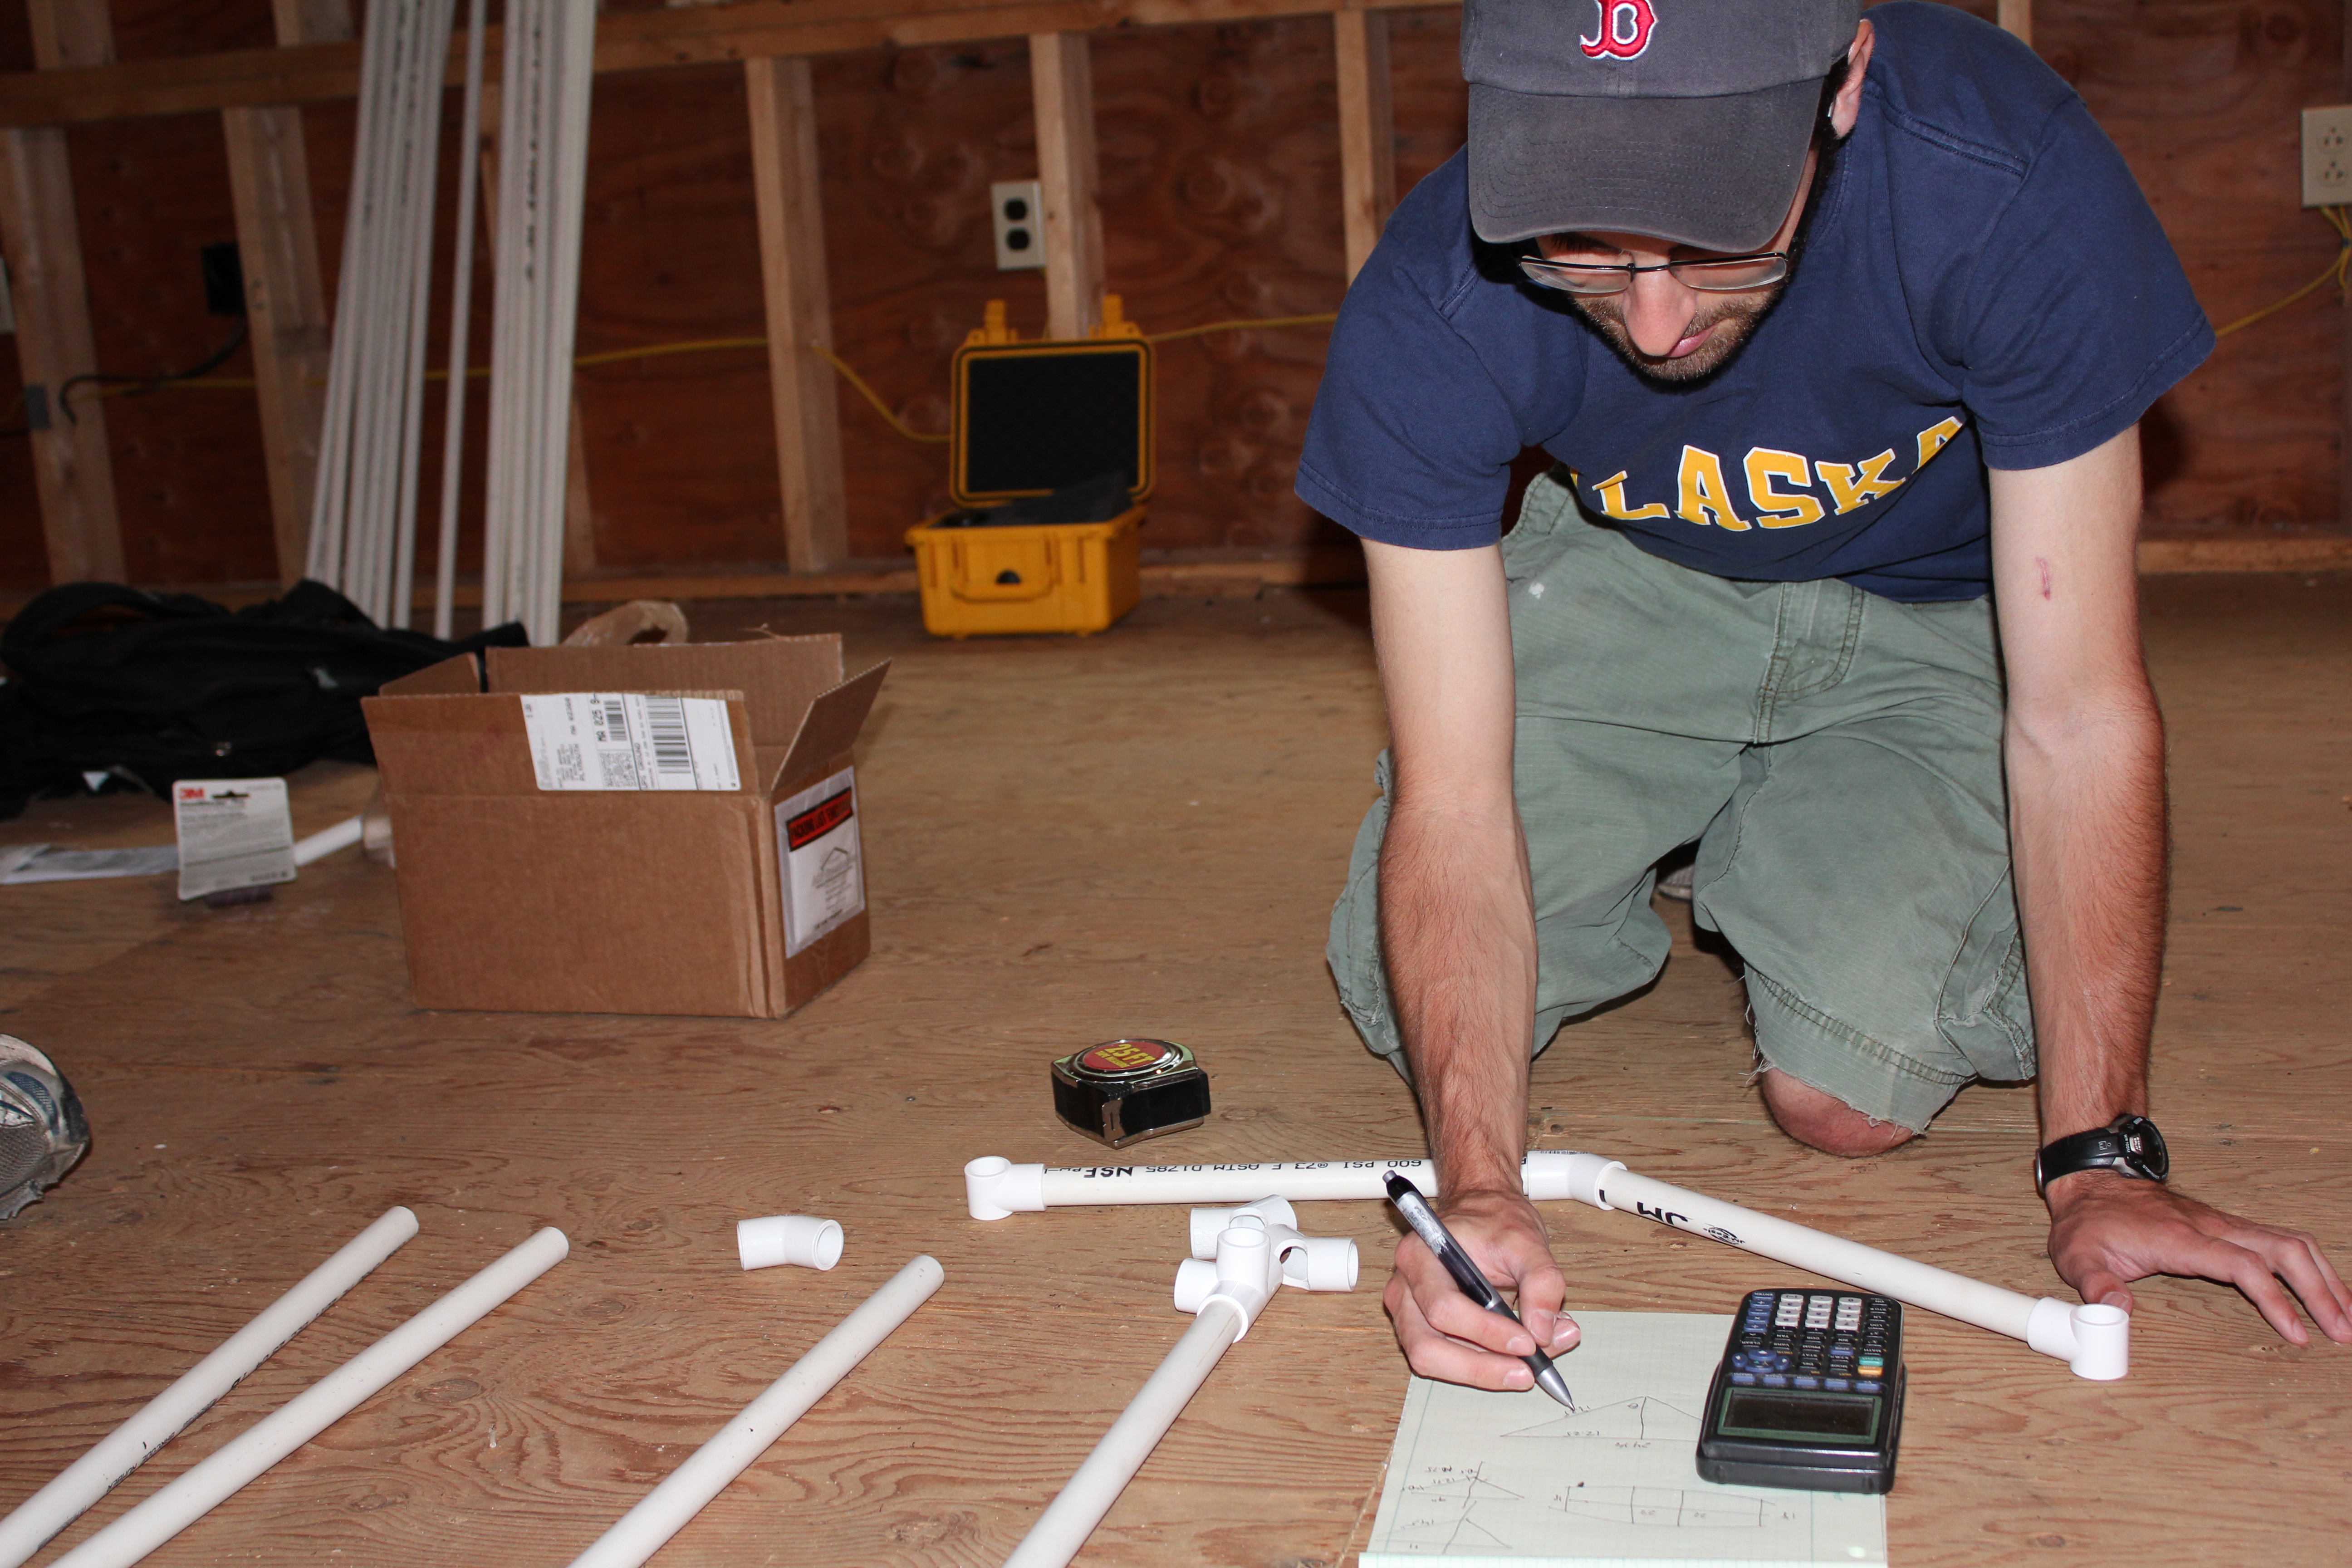
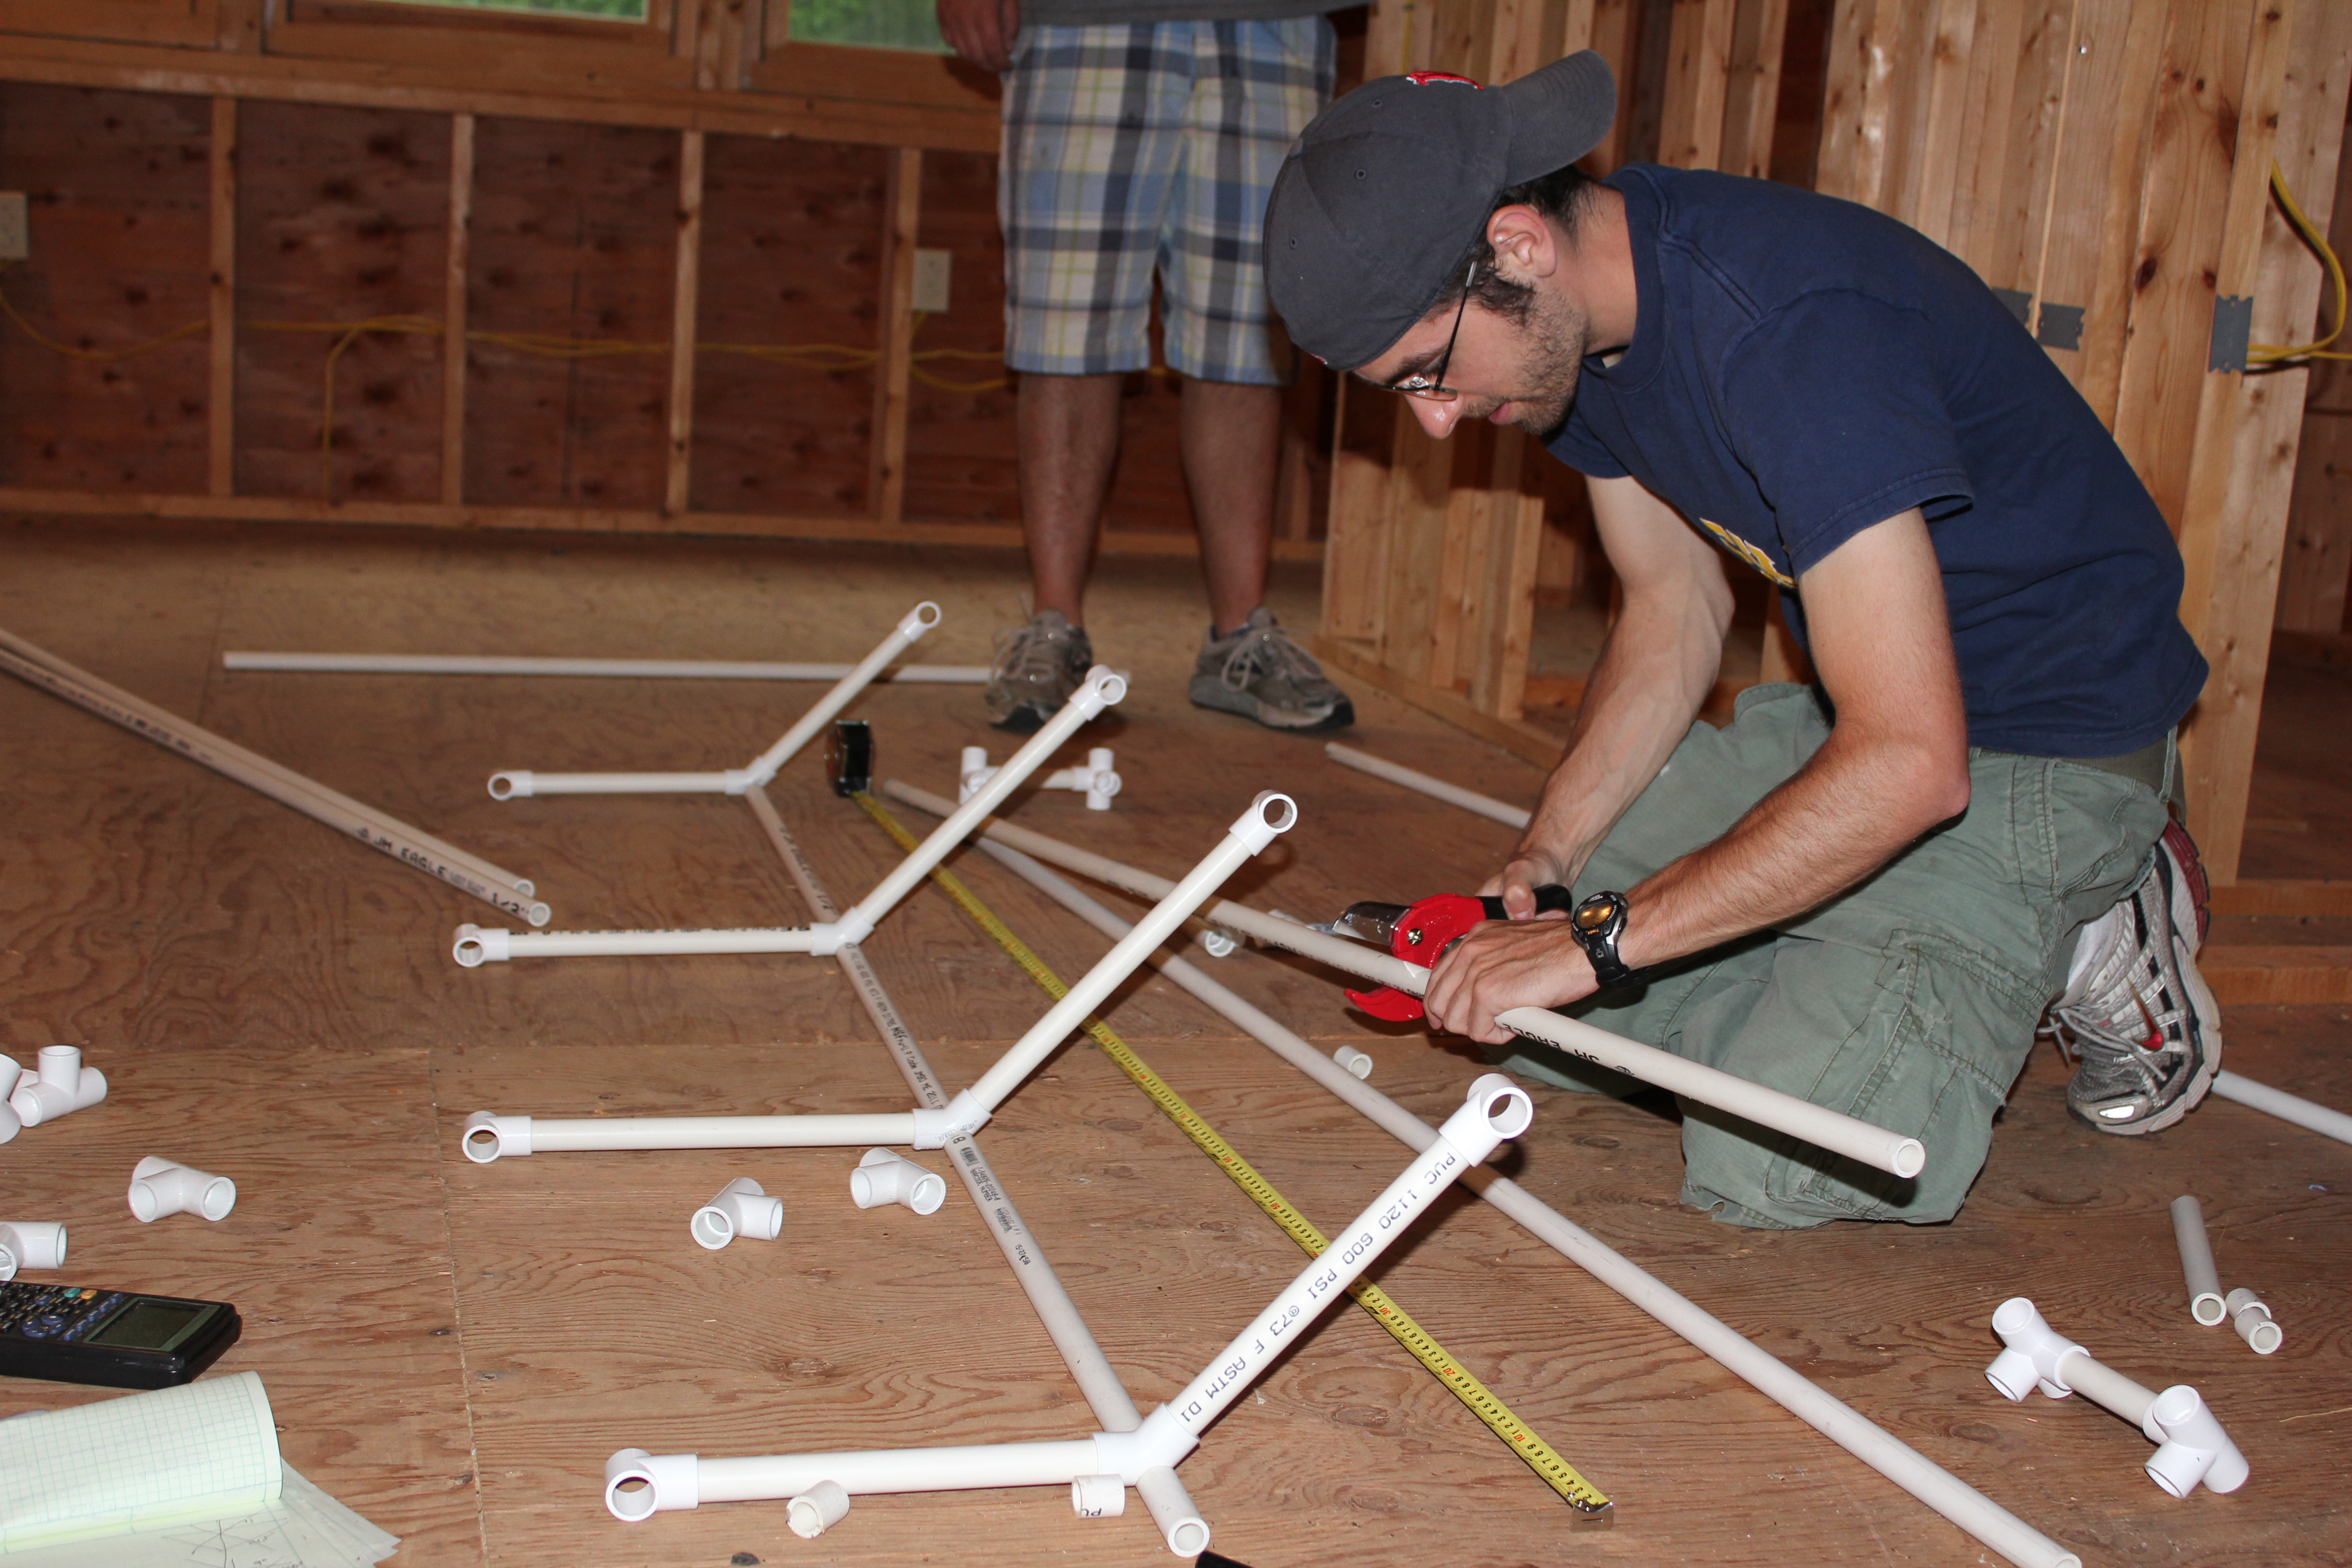
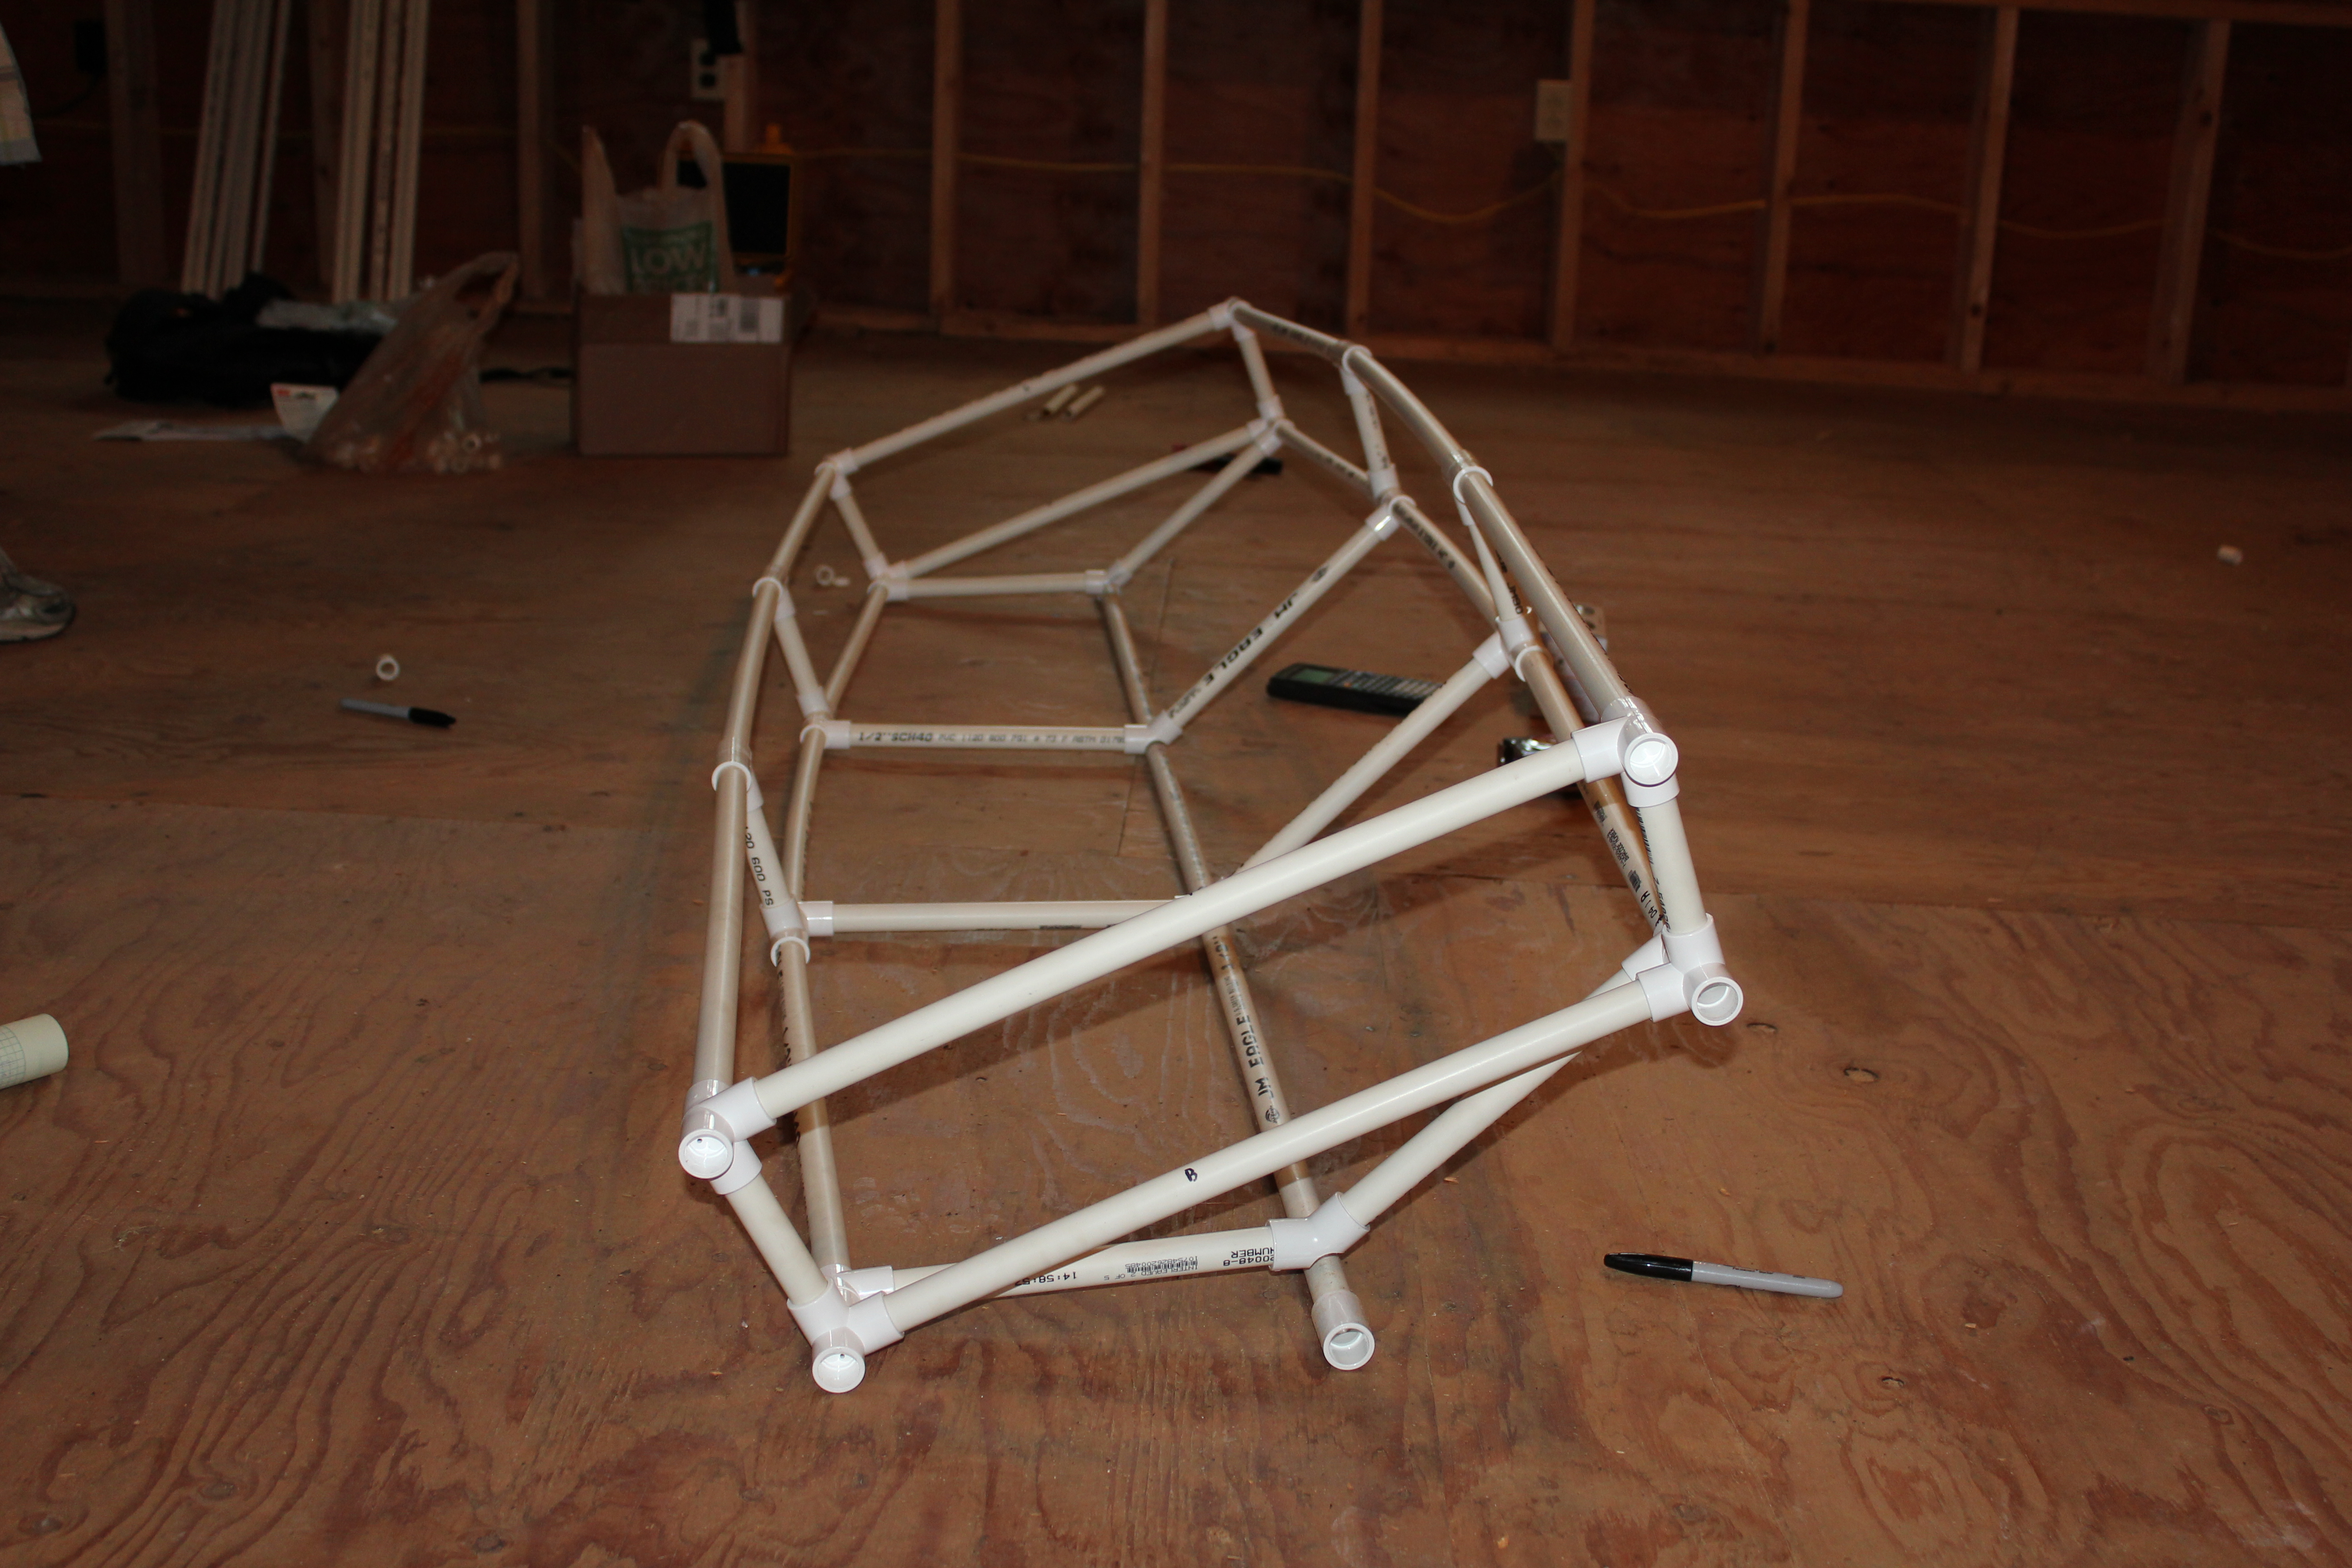
We decided to tackle the center section of the kayak starting at the keel-line and build up from there. At this point in the build, we were only interested in dry-fitting the parts and we’re happy to report that the plug-and-play construction offered by the specialty fittings could not have gone more smoothly!
Our customized parts came in very handy with the keel and before we knew it we were ready to lay-out the hard chine. Once the chine was set we build up the freeboard about 5 inches and laid out the seam and cross members. At this point the hull had taken on a rather boxy shape but we were able to play with the lengths of some of the cross members in order to achieve a more appealing hull shape.
With the middle section nearly complete we decided to play around with the bow to see how the parts would come together. It became apparent that the more drastic curves of the hull in this section and the coupling of the PVC pipes at the bow will require some more design work before we can move forward with the build. Overall, we’re happy with the progress that was made during today’s build session. Check back next week for updates!
-Kayak Dave
Click here to donate to the Kayak Dave’s Duct Tape Kayak team and help support Stand Up 2 Cancer!


2 Responses to Duct Tape Kayak – Build Day 1