
The new sponsorship opportunity with Heroes on the Water re-motivated the team to return to the Billington Sea Kayak barn and get back to work on Duct Tape Kayak Version 2.0 this past weekend! This time we were a man down with Alex out of town attending to his love interest. Never-the-less, Brett and I were able to make some solid progress thanks in part to attic temperatures that were above freezing for the first time all winter and despite being distracted by the Bruins game that we were listening to on my new Ryobi Radio!
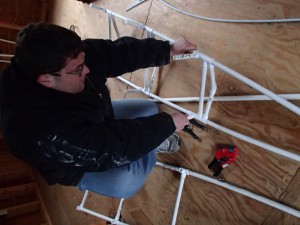
Brett hard at work tweaking the new stern section
Work continued where we had left off on construction of the PVC frames for the new bow and stern sections. All that they really needed was a little trimming here and there to refine the lines of the hull. We decided to stick with our trick for tying in the ends of the bow and stern that we used last year. I had taken some time earlier in the week in the warmth of my shop to fabricate the custom end-caps with eye hooks to accept the zip ties (yes, we’re still taking “Made in America” very seriously!). A few drill holes and zip ties later and the bow and stern sections were ready for a glue session!
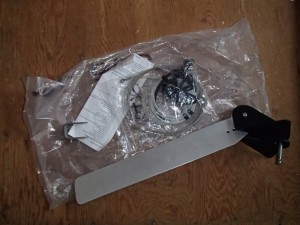
Wilderness Systems Alto retrofit rudder kit should do the trick!
Our next objective was to play around with the idea of adding a rudder to the stern section. The 2012 Duct Tape Kayak suffered from its share of tracking issues and we felt that the addition of a rudder would give the paddler a bit more control over things. Alex and I had selected an old Wilderness Systems Alto retrofit rudder kit that we found in the bowels of Billington’s spare parts collection. The kit was really convenient as it contained basically everything that we needed including: the rudder, mounting bracket, cables, and hardware. The rudder looked long enough when we sized it up next to the stern section but that’s about as far as we got with it. I’ll be sure to provide more details after we install it on Build Day 3!
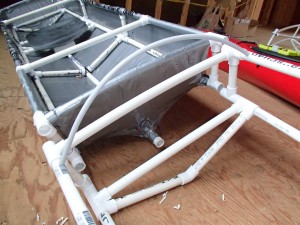
Close up of the first deck rib to be installed
Next we had a date with our nemesis, the box cutter, and worked to strip the old, pink deck off of the middle section (don’t worry, we saved a piece for posterity). The 2012 kayak had a very low profile, Greenland-esque, foredeck that provided little protection for the paddler and made it a “wet ride”. In our design meeting, Alex had suggested that we raise the foredeck and tighten up the cockpit in order to combat this issue and help keep him drier as he paddled. We decided to utilize 3/8in PVC tubing to create a series of ribs to elevate the foredeck. The material was flexible enough to bend without using the heat gun and small enough in diameter that we could drill holes directly into the frame to accept the ribs rather than use more fittings. The deck ribbing went in very smoothly and Morton gave his approval with two paws up when he came to check things out!
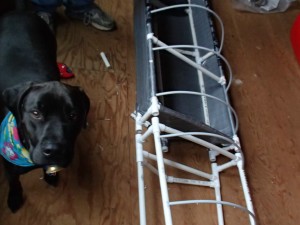
Morton Gives 2 Paws Up!
That’s enough work for one day! Next time we’ll finish up with installing the rudder and outfitting the cockpit. Other than that we’ll be waiting on Mother Nature to provide us with a warm day to glue the frame together and spending some time praying that our proposal to Duct Tape Brand gets accepted!
Also, stay tuned for our 2013 Schedule of Events which I hope to release shortly!
Happy Paddling,
-Kayak Dave
Be sure to visit the KayakDave.com Facebook Page for more pictures of the 2013 Duct Tape Kayak!