

Touring on your SUP can be a unique and rewarding experience. It’s just so quick and easy to throw a board on the water, strap on some must-have gear, and shove off on an after-work adventure! One of my latest kicks involves taking a SUP down to the lake, bringing along a hammock and book, and heading out to the island for an afternoon read! Here are a few things that I have learned that will help make your next SUP trip a great success!
Outfit your SUP with Bungee Cords
Bungees help secure gear to your SUP
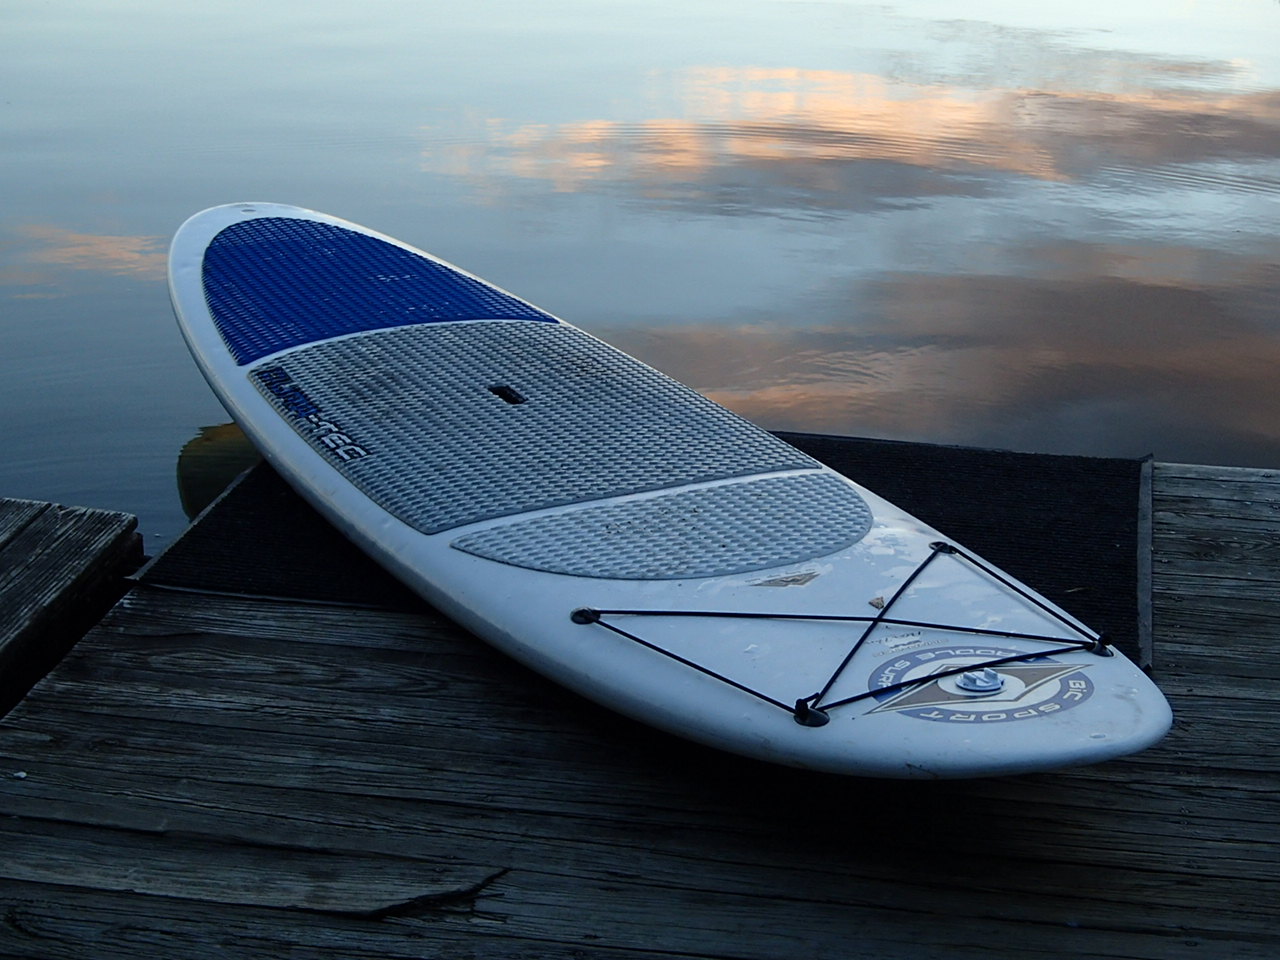
SUP boards don’t have storage hatches like kayaks do so you’ll have to find a way to stow your gear on deck. Many of the mid- to high-end, touring-specific SUP boards now come with a set of recessed anchor points pre-installed in the deck. This makes it very easy to string a bit of bungee cord on the deck to stow your gear underneath. Don’t fret if your board doesn’t have these fixed anchor points as it’s pretty easy to install your own. In the past I’ve used Huki Bungee Anchors which can be installed with a dab of 5200 marine adhesive. The key is to makes sure that the deck surface is clean before gluing. Also, be sure that the board doesn’t get wet until the glue cures (fast-cure takes about 24 hours to fully cure). Seattle Sports will be adding a new self-adhesive bungee anchor to their catalog in 2014. If they hold strong then they’ll be a lot easier and less messy to install than the original Huki anchors.
Invest in some Dry Bags
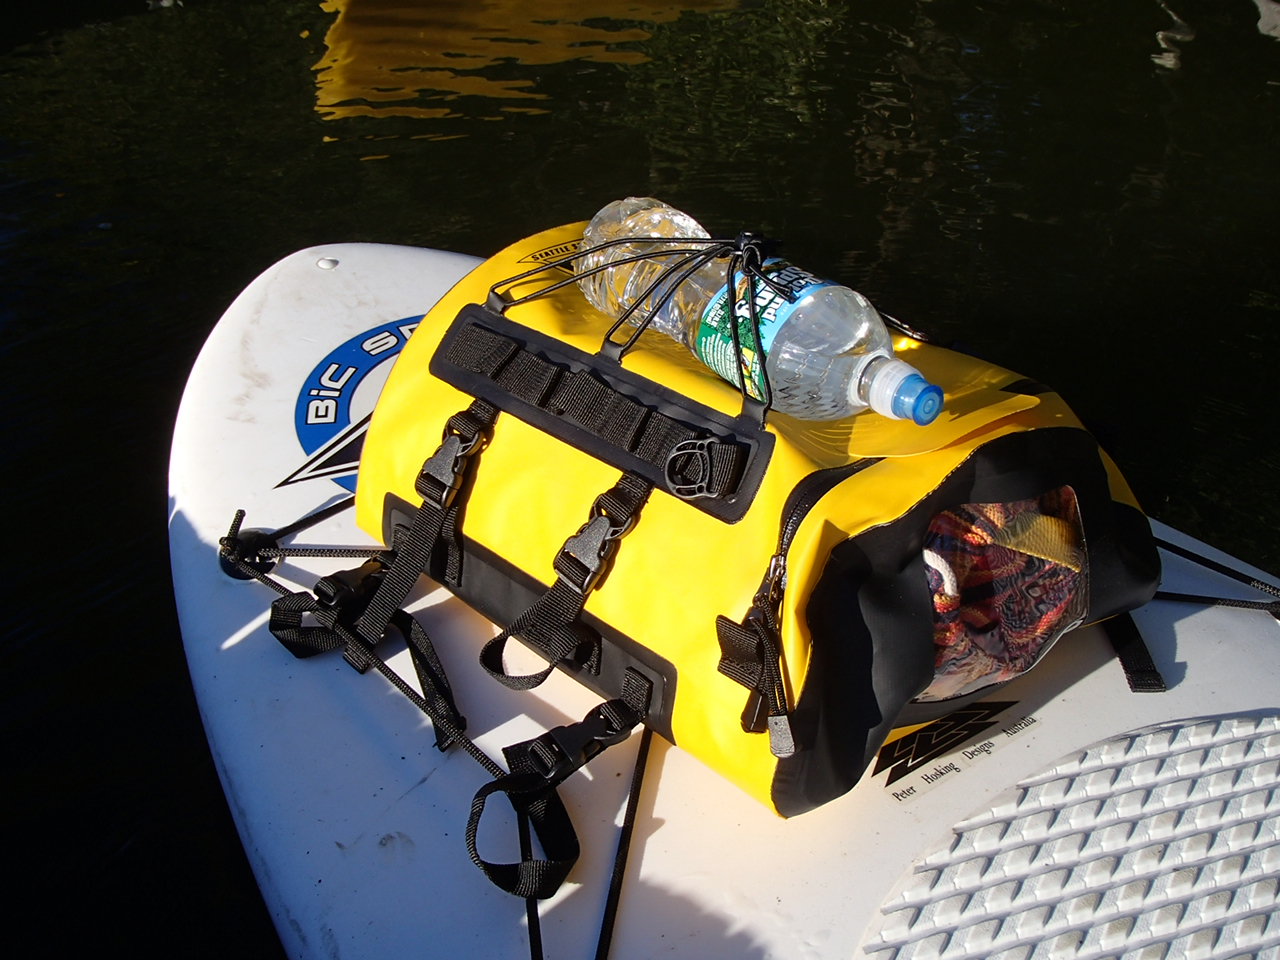
Deck bags are a great way to stow gear for a short trip.
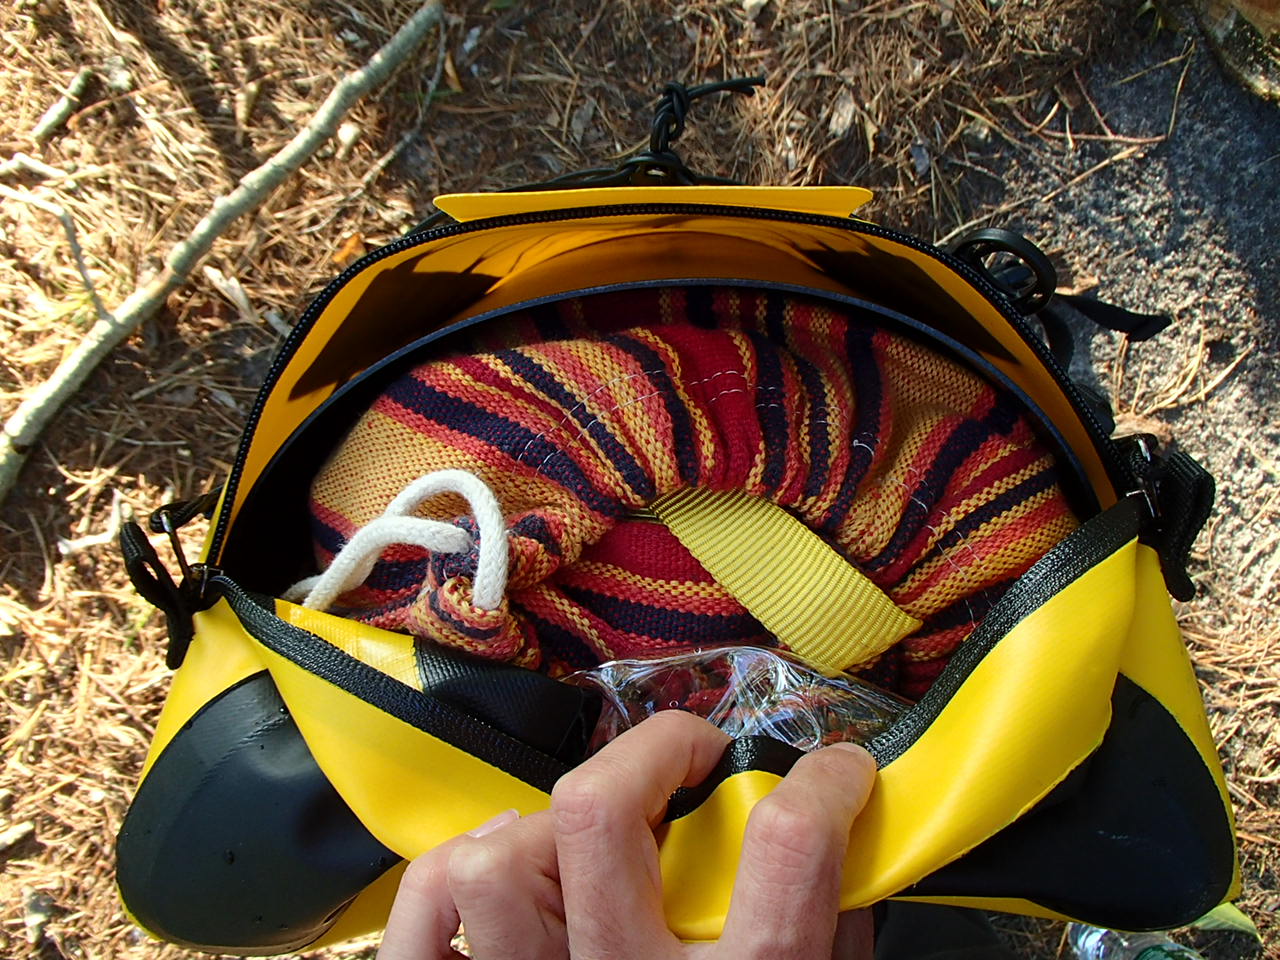
Deck bags and dry bags offer excellent gear storage options for folks interested in SUP touring. For shorter trips, I’ll typically turn to my Deluxe Deck Bag by Seattle Sports. This deck bag is large enough to store my hammock, book, and a light jacket. It also has some external lash points for a water bottle. For longer trips I’ll usually rely on a few small-to-mid-sized dry bags to keep my gear dry and organized. My favorite dry bags are the Glacier Clear Dry Bags by Seattle Sports. The clear, vinyl side walls make it easy to see where that specific piece of gear is at inside of the bag. I’ve also come to appreciate the Boundary Pack by Cascade Designs. One of the best parts about SUP is that it’s so easy to get out on the water and this bag lends well to that philosophy!
Pack Like a Backpacker!
Bring only what you need…a good book and hammock 😉
The key to packing for a tour on your SUP is to be judicious in what gear you decide to bring along. The best way to approach this task is to think like a backpacker. Every piece of gear that you bring along should be both compact and light weight. This ensures that everything will make it inside of the dry bags and that the sum total of all of your gear will not adversely affect the handling of the board. Most importantly, everything that you place in your dry bags should be useful to you during your trip. After all, the deck of a SUP board is no place for the kitchen sink!
Don’t forget about Board Trim!
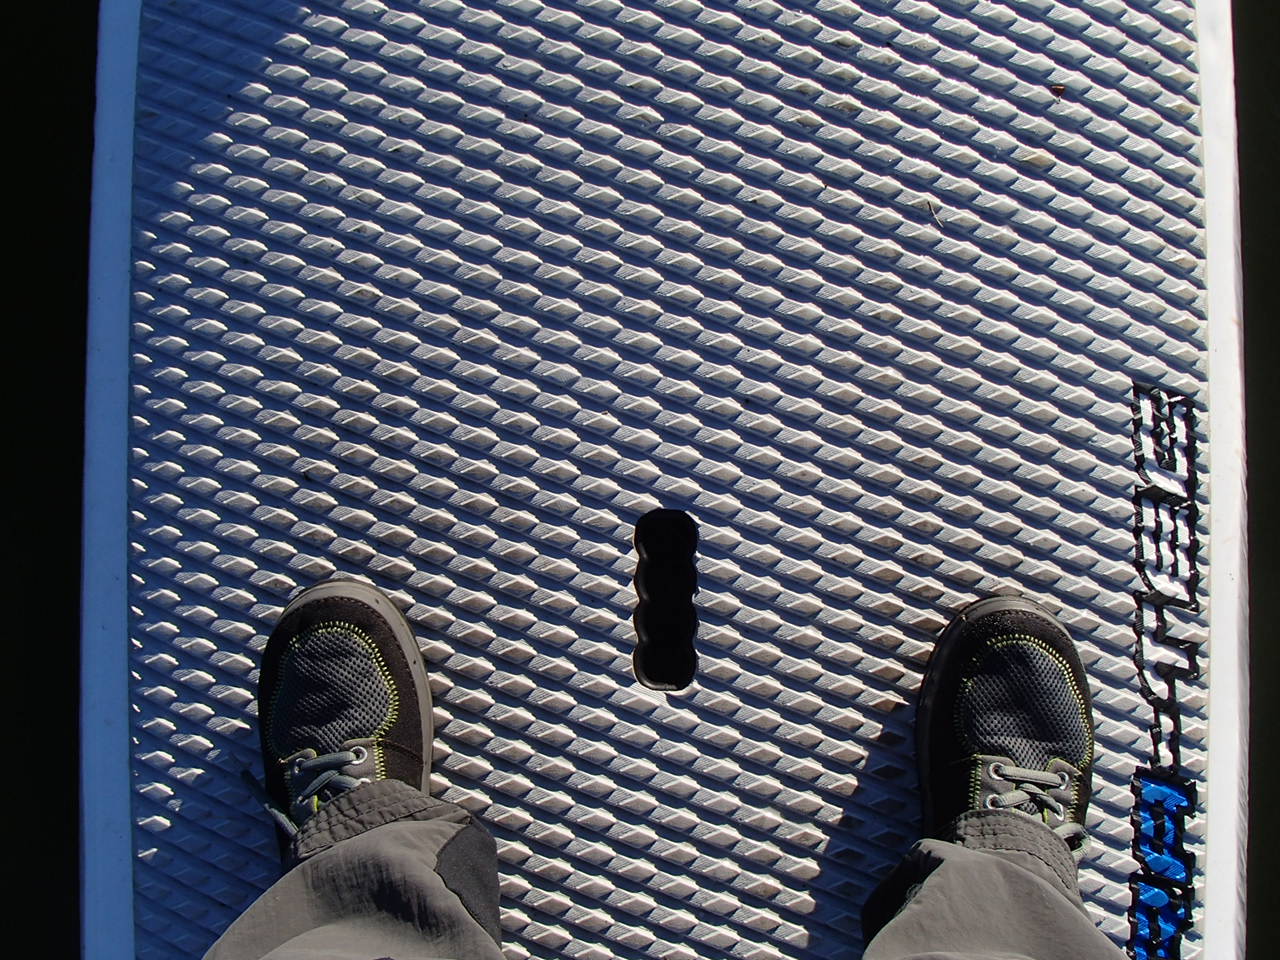
The paddler is standing a few inches aft of center to compensate for gear weighing down the nose.
One of the “golden rules” of Stand-Up Paddleboarding is maintaining proper board trim. While paddling on flat water this typically means standing somewhere near the center of the board. This ensures that the nose and tail will rise out of the water symmetrically (aka trimmed). This all seems pretty straight forward but an issue arises when you start to add a bunch of gear to the deck of your board. Adding a few dry bags worth of gear to the nose will cause the front of your board to sit deeper in the water thus throwing off your board trim. There are two ways to compensate for this. One way is to split up your gear such that the weight is equally distributed between the nose and tail of the board. Another way is to simply shift your paddling position aft of center until the board is trimmed. I’m a big fan of this second solution because keeping the tail end of the board clear of gear allows me to move back for pivot turns a little easier.
Consider your Course:

SUP Touring is best on GLASS
Windy conditions can be especially challenging for SUP touring. All of that gear packed on to your board will act like a sail to catch the wind and try to push you off course. It’s never fun to fight the wind like this and the good news is that you don’t have to if you take some time to consider your course. The best thing to do is plan a path that links “wind shadows.” Wind Shadows are calm waters that are sheltered from the wind. They can usually be found on the leeward side of land masses, boats, and other structures. Paddling from one wind shadow to the next will making the going a lot easier by giving you some breaks from the wind and allowing you to cover the distance a bit more efficiently!
Happy SUP Touring!
-Kayak Dave